Graduation Craft Ideas to Celebrate Every Milestone

Graduation season is filled with proud tears, big hugs, and meaningful moments — whether your little one is finishing kindergarten or your teen is heading off to college. The caps and gowns may differ, but the joy of celebrating their hard work stays the same.

So, what better way to celebrate than with something handmade, heartfelt, and fun?

Whether you’re crafting a keepsake with your child or surprising your grad with a personal gift, these graduation craft ideas are a great way to mark the moment — and create lasting memories together.

Craft a Moment That Lasts

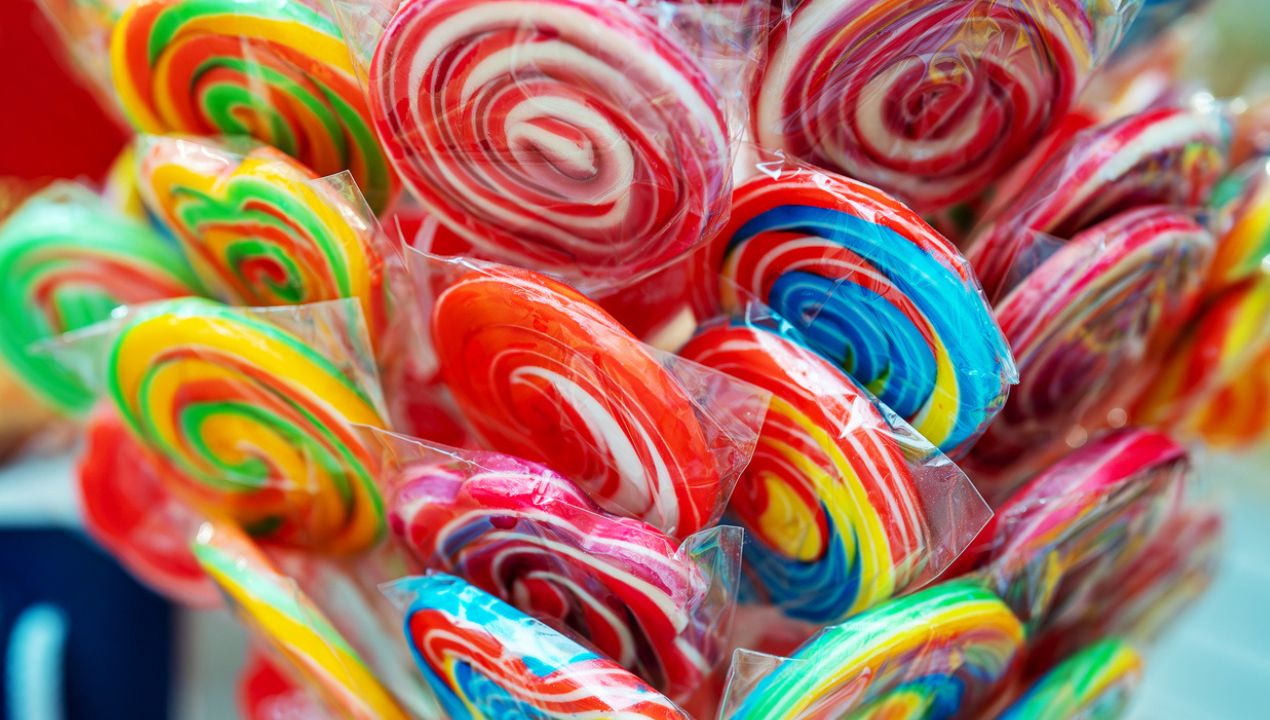
Looking for a quick win? Try a Graduation Lollipop Bouquet. Simply glue a small school photo onto a rainbow lollipop and add a mini graduation cap. Then, bundle them in a mason jar or foam base for a bright, smile-worthy centerpiece.

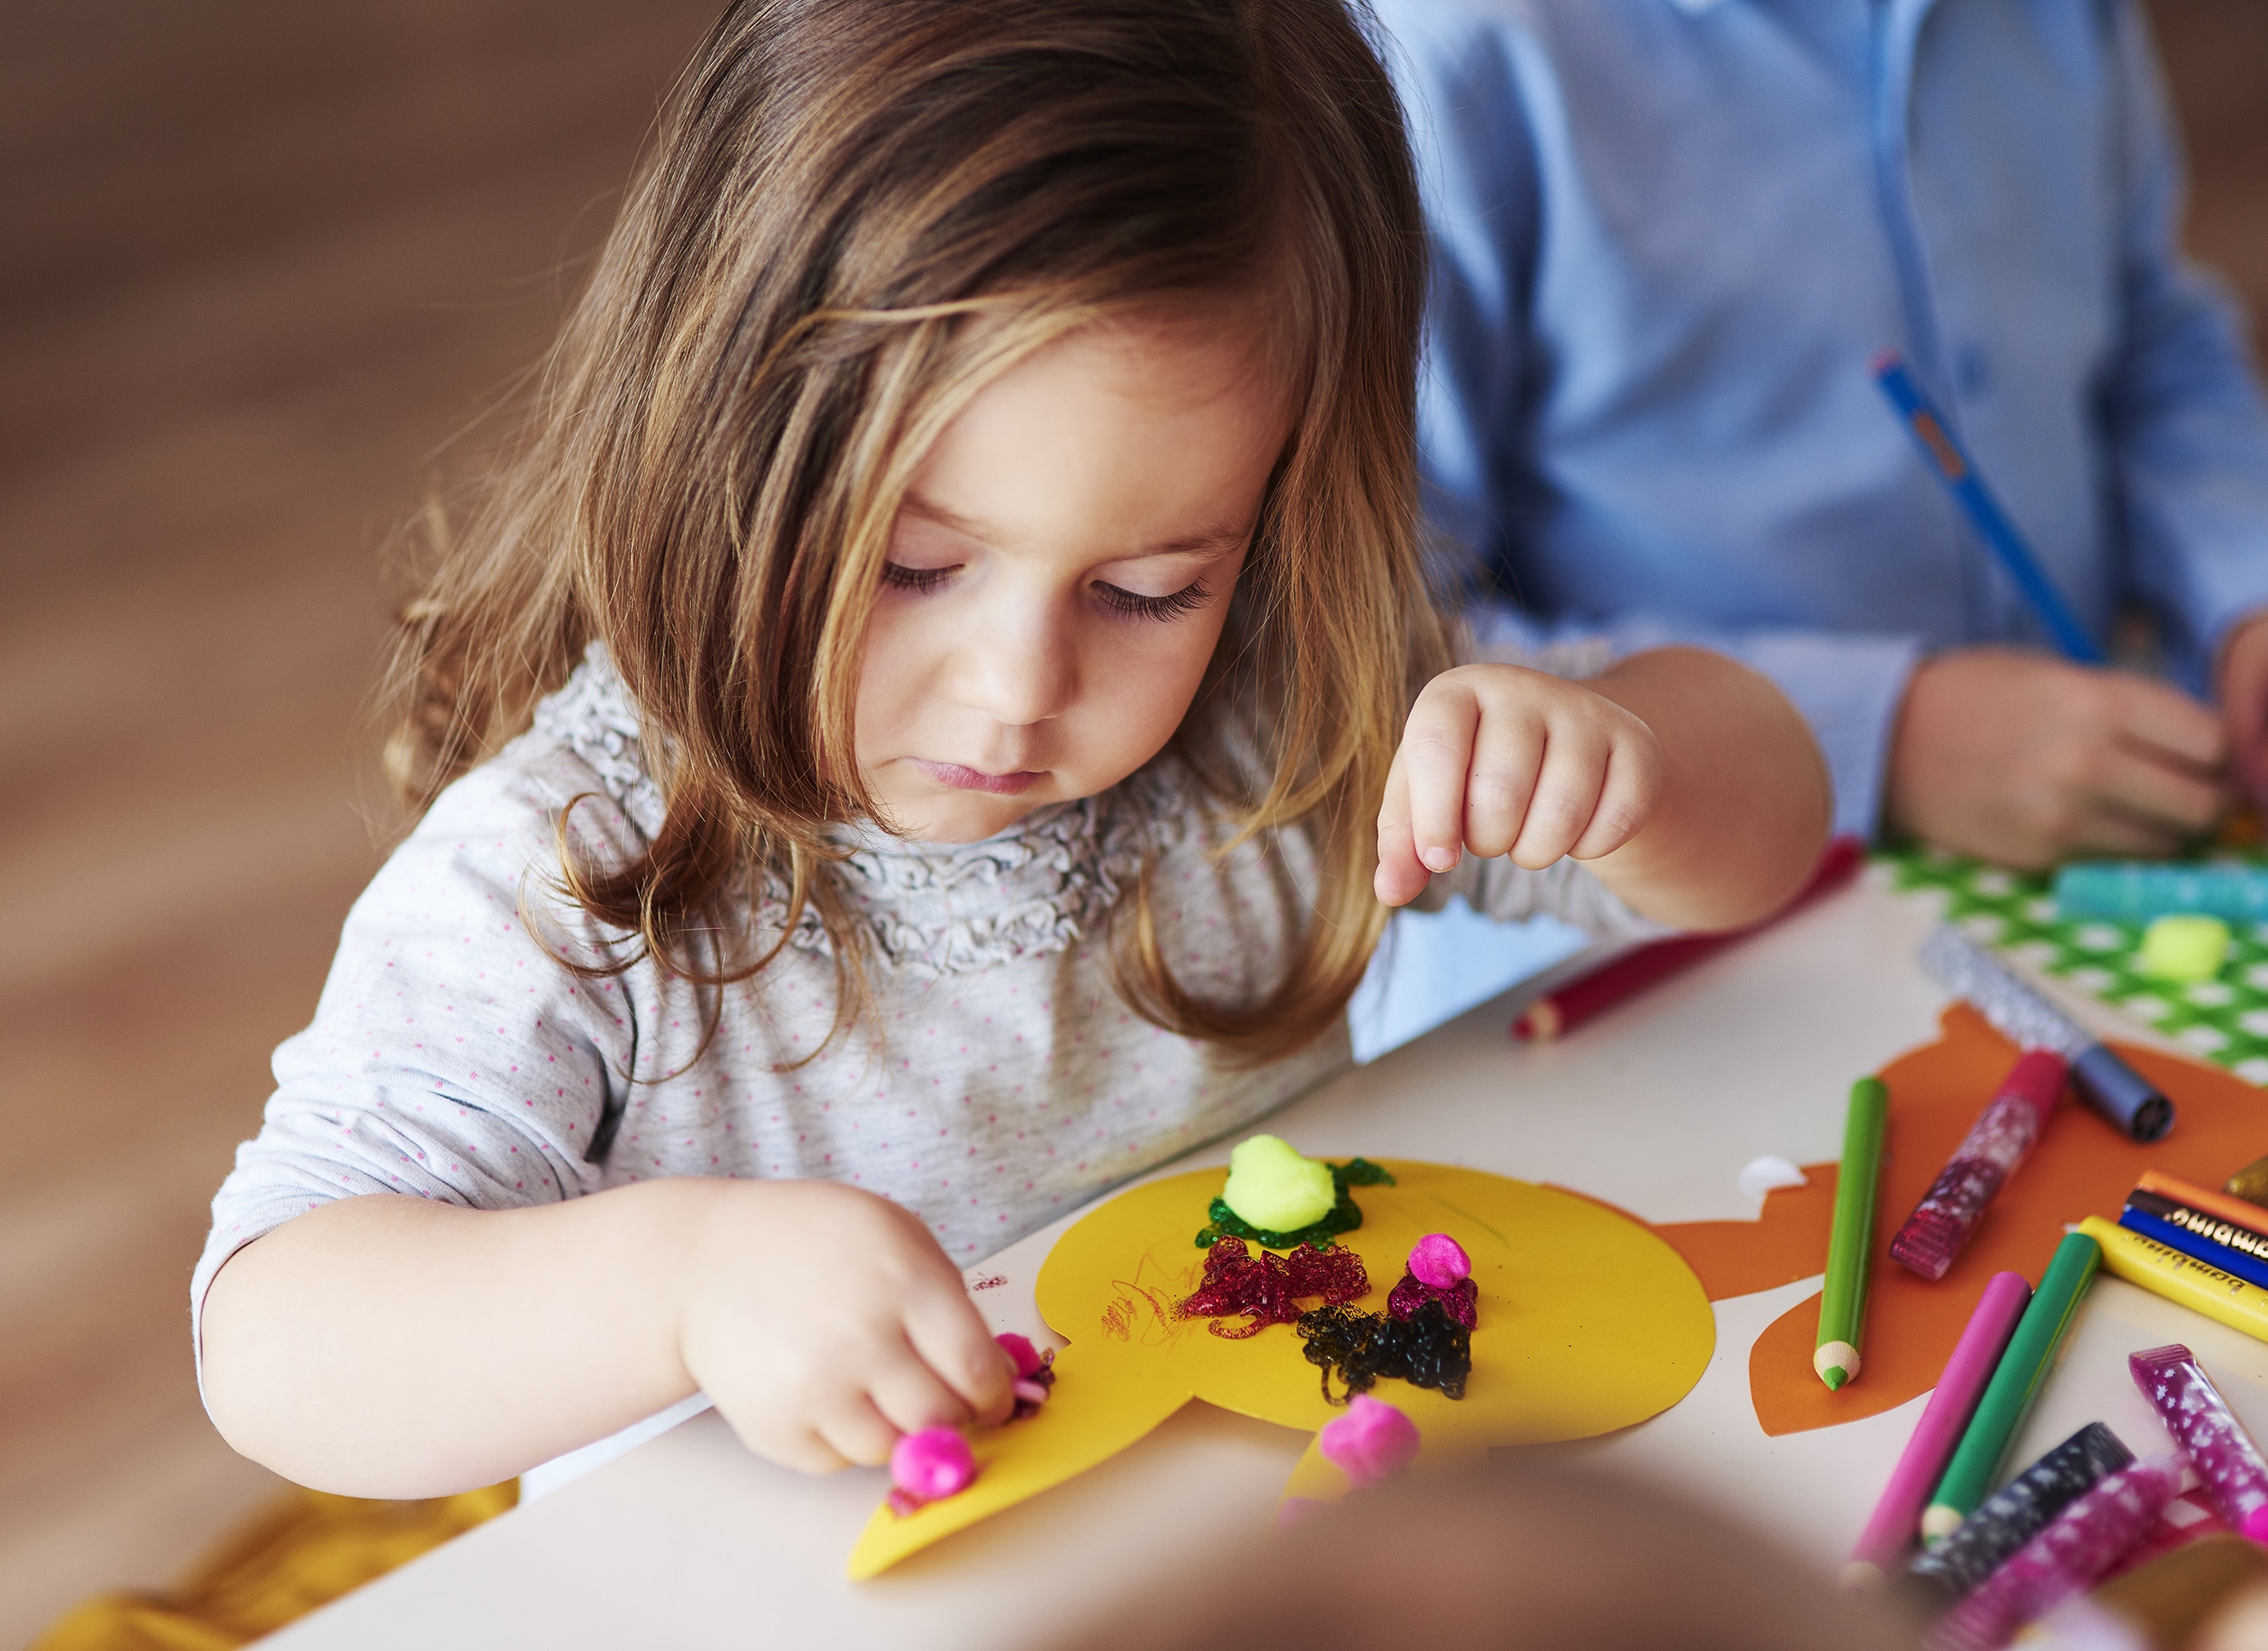
For younger kids, printable coloring pages like a “Label the Graduate” activity offer creative fun. In fact, they can color their mini-grad, cut out labels, and proudly hang their work on the fridge.

If you’re looking for something more sentimental, try making a Memory Jar filled with notes, drawings, or quotes. Each slip of paper becomes a loving reminder of how much they’re appreciated — especially perfect for grads starting a new chapter.

Small Gestures, Big Meaning

Even small crafts can leave a lasting impression. For example, a decorated water bottle filled with candy, coins, or cash is both fun and practical. It’s ideal for high school seniors preparing for campus life.

Alternatively, roll a dollar bill around oversized Smarties candy to create a sweet “diploma” gift. It’s a playful twist that always brings a smile.

If your grad is artistic, encourage them to make a “Graduate Self-Portrait.” Add a homemade paper cap and have them write a few words about their favorite school memories. This craft becomes a keepsake to treasure.

Shop for Supplies, Earn Rewards

Planning a craft night or gift moment? Don’t forget to open the Shopkick app before heading to the store. As you shop at Walmart, Target, CVS, and more, you’ll earn kicks that you can redeem for free gift cards.

In addition, you can use those rewards on craft supplies, decorations, or celebratory snacks — making your celebration even sweeter.

Celebrate with Heart

Graduation doesn’t have to be extravagant to be meaningful. A handmade gift, a quiet night of crafting, or a fun family activity can be the most memorable part of the milestone.

So whether you’re gluing googly eyes onto a cap or writing a thoughtful note for a memory jar, remember this — it’s the love behind the craft that truly makes it special.

How to Homeschool: Two Easy Crafts for Preschoolers

Mrs. Lamb was back on Facebook Live yesterday, and this time she answered your question about how to encourage preschool age students to be creative. Throughout her broadcast, Mrs. Lamb explained how to do two different crafts with young kids between the ages of three and seven. We loved seeing the results of her mosaic art and dot art projects, and we’re excited to share more about each below! 

Mosaic Art:

Supplies:

  1. A picture either hand drawn or printed onto a piece of paper (a coloring book picture could work too!)
  2. Construction Paper
  3. Glue Stick

Why It’s Important:

This project encourages preschoolers to work on their fine motor skills because they will need to rip small pieces of paper. The skills they are exercising through this craft are the same skills they will use when they begin to work on their handwriting. That’s why projects like this one are important! Students can also learn about colors, math (you can ask them to count how many pieces of paper are needed to fill in each section), and staying within the lines.

Directions:

  1. Draw or print the outline of an object onto a piece of 8”x11” paper. The outline is important because your student will be filling the interior with paper.
  2. Tear small pieces of construction paper
  3. Beginning with the large sections, glue each piece of construction paper onto the larger paper within the section where your student would like it to be placed. The small pieces of paper should overlap. 
  4. Repeat steps 2 + 3 until the outline is filled in.
  5. Hang your preschooler’s project up! Placing it face out on a window is a great idea, so your neighbors can enjoy your student’s colorful art during their walks.

Dot Art:

Supplies:

  1. A picture either hand drawn or printed onto a piece of paper (a coloring book picture could work too!)
  2. Water Based Paint (Crayola works well!)
  3. Q-tips

Why It’s Important:

Like the mosaic art project, dot art encourages your student to work on their fine motor skills because they are pinching a Q-tip while they’re painting. They can also work on coloring within the lines, learning the difference between cool colors and warm colors, and how to describe their work.

Directions: 

  1. Draw or print the outline of an object onto a piece of 8”x11” paper. The outline is important because your student will be filling the interior with paint.
  2. Dip your Q-tip into the paint and paint dots* onto the paper.
  3. Repeat until the page is complete.
  4. Ask your student to describe what each color they’re using means to them and make a color guide.
  5. Hang your preschooler’s art in a place where you and your neighbors can enjoy it!
  6. *If your preschooler would prefer to paint longer strokes using the Q-tip, that’s fine too! As Mrs. Lamb points out, they are still working on their fine motor skills.

The important thing to keep in mind with either project is there isn’t a right or wrong way to complete them. Encourage your child’s creativity along the way! 

For more ideas and to see Mrs. Lamb explain (and make!) the projects, make sure to watch her Facebook Live. We’ll see you back on Facebook tomorrow for Mrs. Lamb’s next session!