4 Mother’s Day Crafts for Kids

Mother’s Day is the perfect time to celebrate all the amazing women in your kids’ lives. Here are four fun and heartfelt crafts your kids can create at home — no fancy supplies required. 


Let’s jump in! 


1. Mother’s Day Interview

This one’s simple and adorable. Ask your child a series of questions about their favorite lady  —anything from “What’s her favorite food?” to “Why do you love her?” Have them write or dictate their answers, then draw a portrait of her to go with it. Frame it up and drop it in the mail, or leave it on her doorstep! 


2. “I Wished for You” Fingerprint Art

Create a dandelion blowing in the wind using watercolor paints and your child’s fingerprints. Use thumbs to stamp the “seeds” around the page. It’s colorful, creative, and perfect for framing. A fun and meaningful keepsake. 


3. Simile Poem

Great for older kids! Have them write a poem using similes to describe their mom or special someone (“She’s as kind as a…”). Add a hand-drawn border or a mini portrait, and voilà — you’ve got a personalized masterpiece ready to gift or mail. 


4. Heart Photo Shoot

This one’s a favorite! Cut out hearts in different sizes and colors, tape them to a wall in a swooping pattern, and snap a photo of your child “blowing” them from their hands. It’s a sweet visual way to send love — perfect for texting, emailing, or printing and mailing to loved ones. 


Whichever craft your kids choose, it’s all about celebrating the love they have for the women who care for and inspire them.

Four Kids Crafts for Earth Day

It’s Tuesday, which means we welcomed first grade teacher, Mrs. Lamb, back to Facebook Live! Mrs. Lamb shared one of her favorite holidays is tomorrow – Earth Day. And, she’s still planning to celebrate at home with her kids and over Zoom with her students. Below, we’re detailing the four simple crafts and experiments you can do from home with materials you likely already have on hand.

Bug Hotel:

The bug hotel is exactly like it sounds – a fun spot where bugs will want to inhabit (outside, of course!). Here’s how to make one:

  1. Cut off the top and bottom of a plastic bottle. A soda or water bottle is perfect!
  2. Go on a nature walk and pick up items like sticks, flowers, leaves, and moss.
  3. Thread your items into your bottle until it’s full.
  4. Poke two holes in your bottle, thread twine through the holes, and hang your habitat outside on a tree.

For extra learning, ask your student to journal about the experience, make a hypothesis about the varieties of bugs that will like the hotel you’re creating, and take photos of your hotel in progress. 
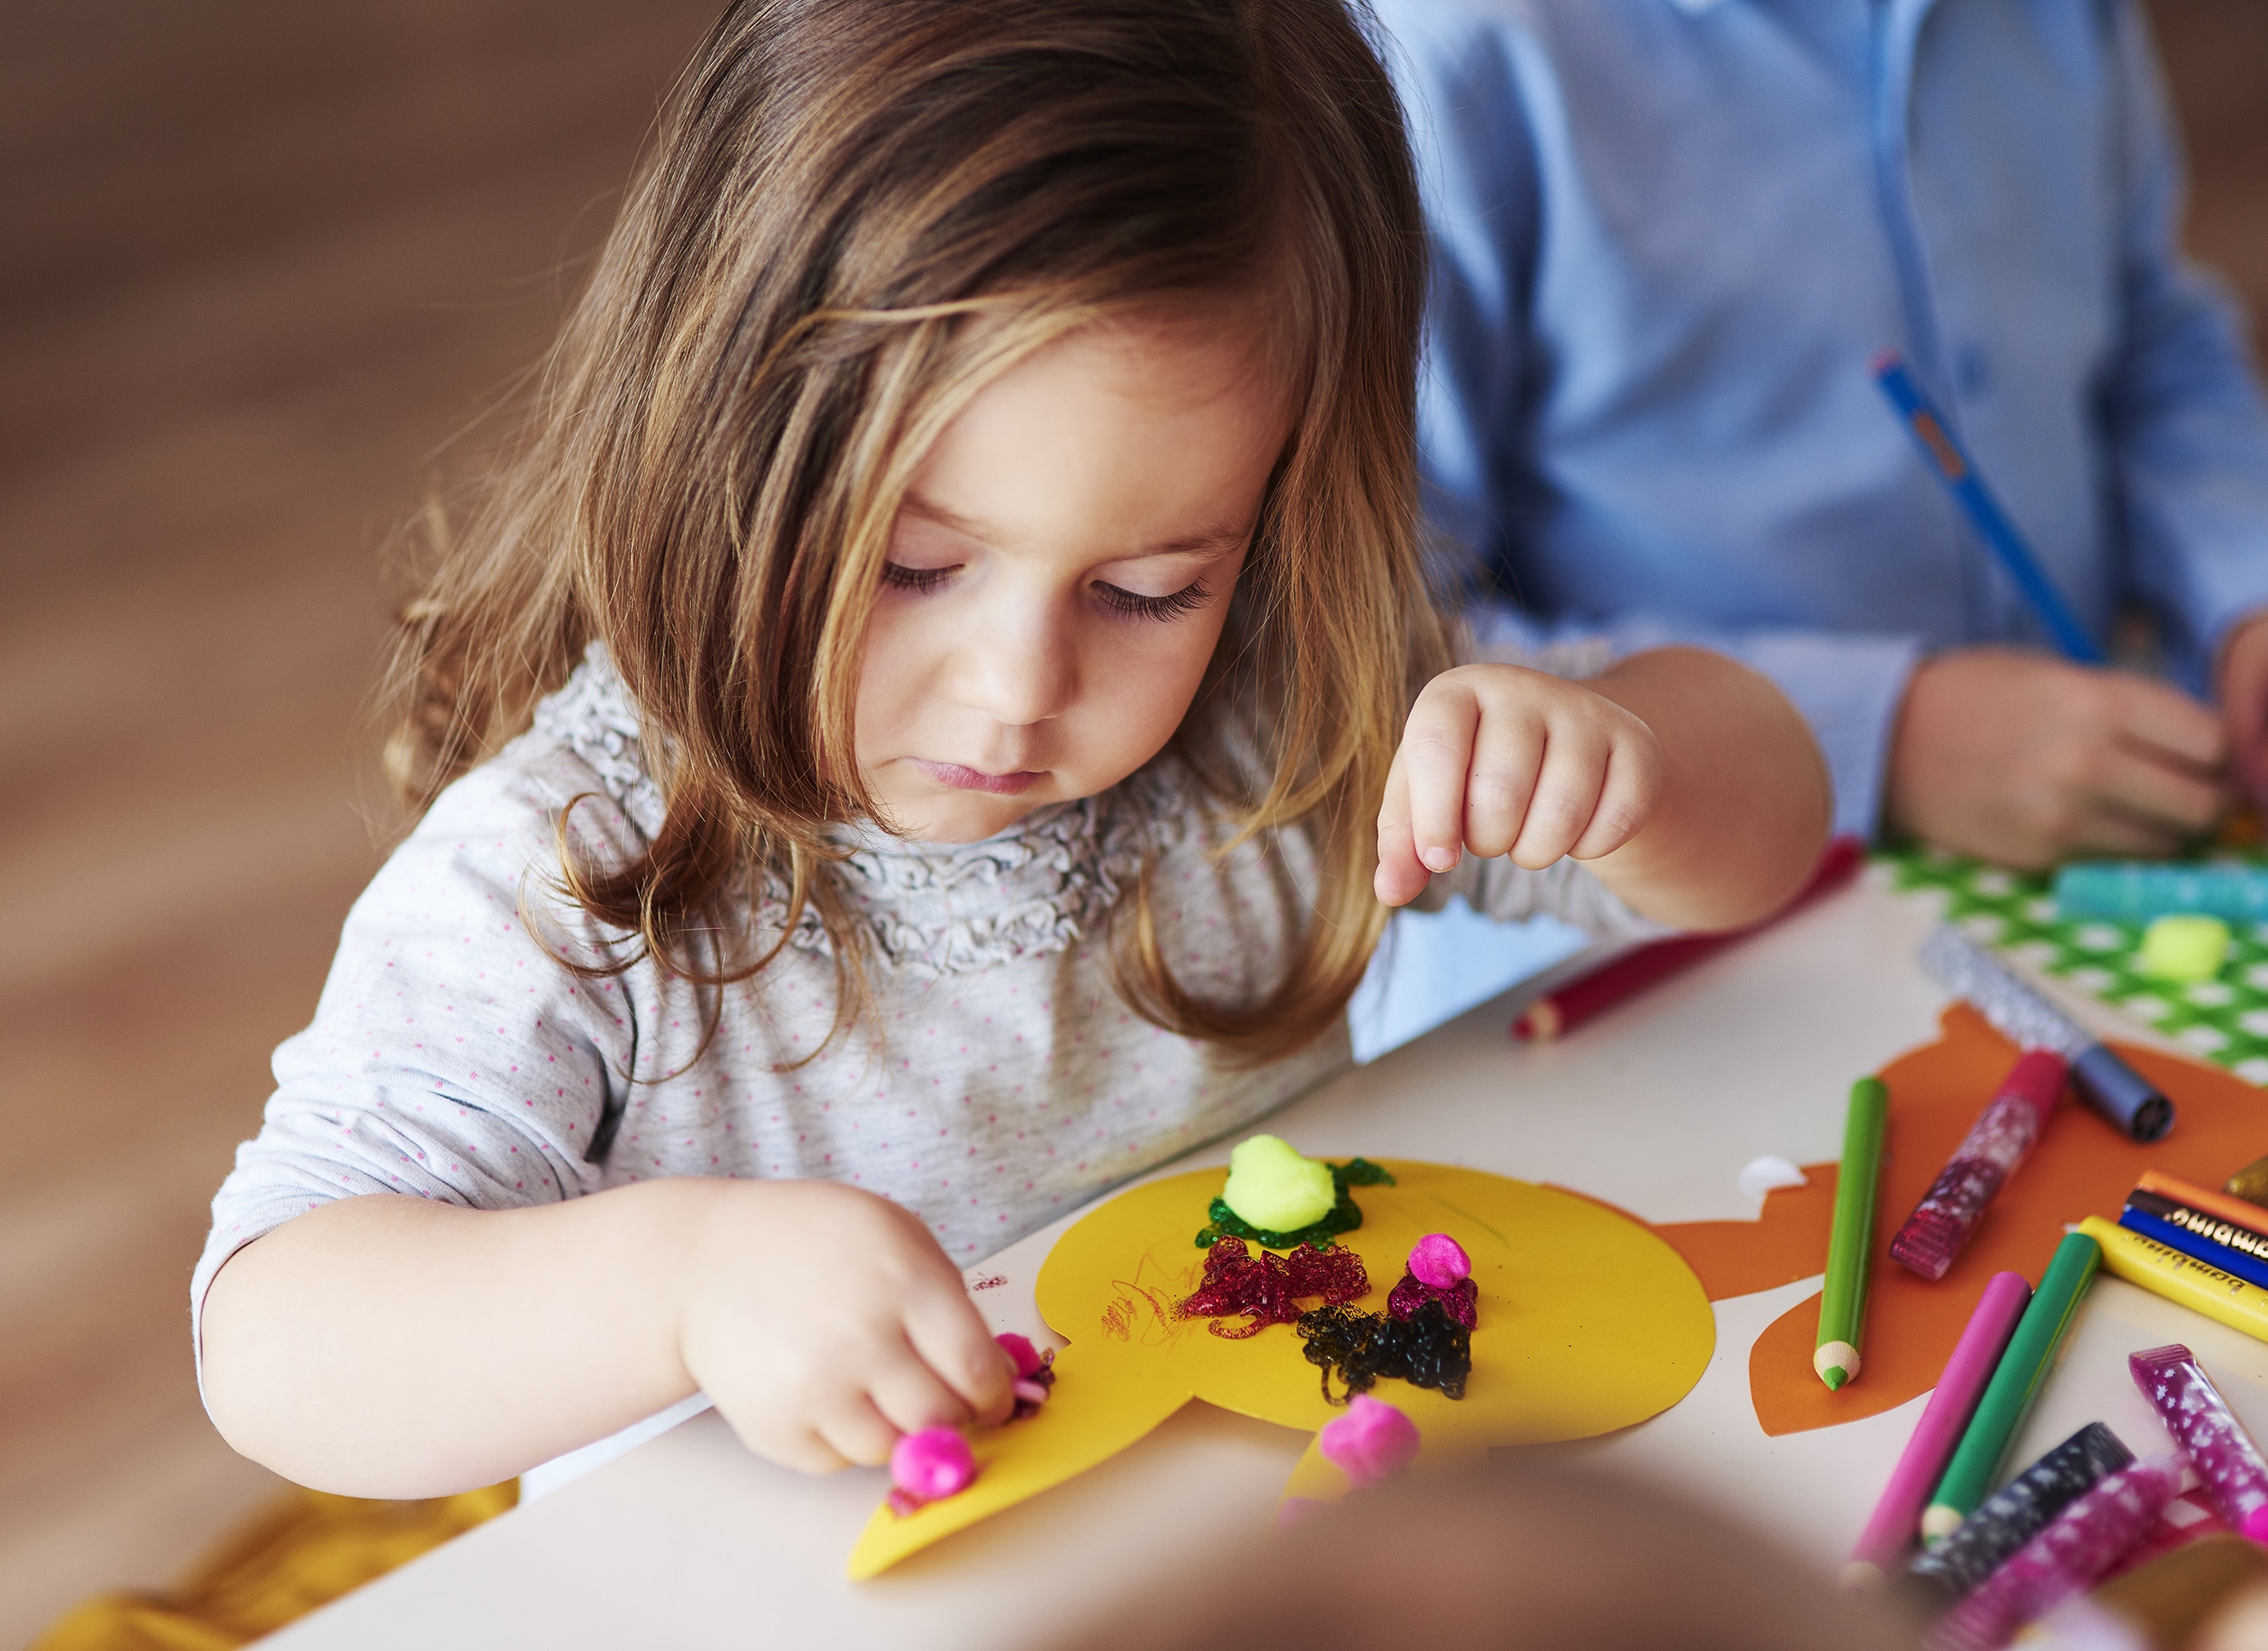
Earth Day Headband: 

Mrs. Lamb and her students love creating Earth Day headbands to wear throughout the day! It’s a fun way to kick off the day with a craft and plenty of meaningful conversation about reducing, reusing, and recycling. Here’s how to make one: 

  1. Download the PDF from Smitten with First.
  2. Color your earth, glue all necessary pieces, and complete the prompt about how you reduce, reuse, and recycle.
  3. Glue all pieces to a headband and wear it throughout the day!

For extra learning, talk with your student about the areas of the earth they’re coloring and why they’re choosing specific colors. See if you can think of new ways to reduce, reuse, and recycle. Chat with friends about Earth Day!
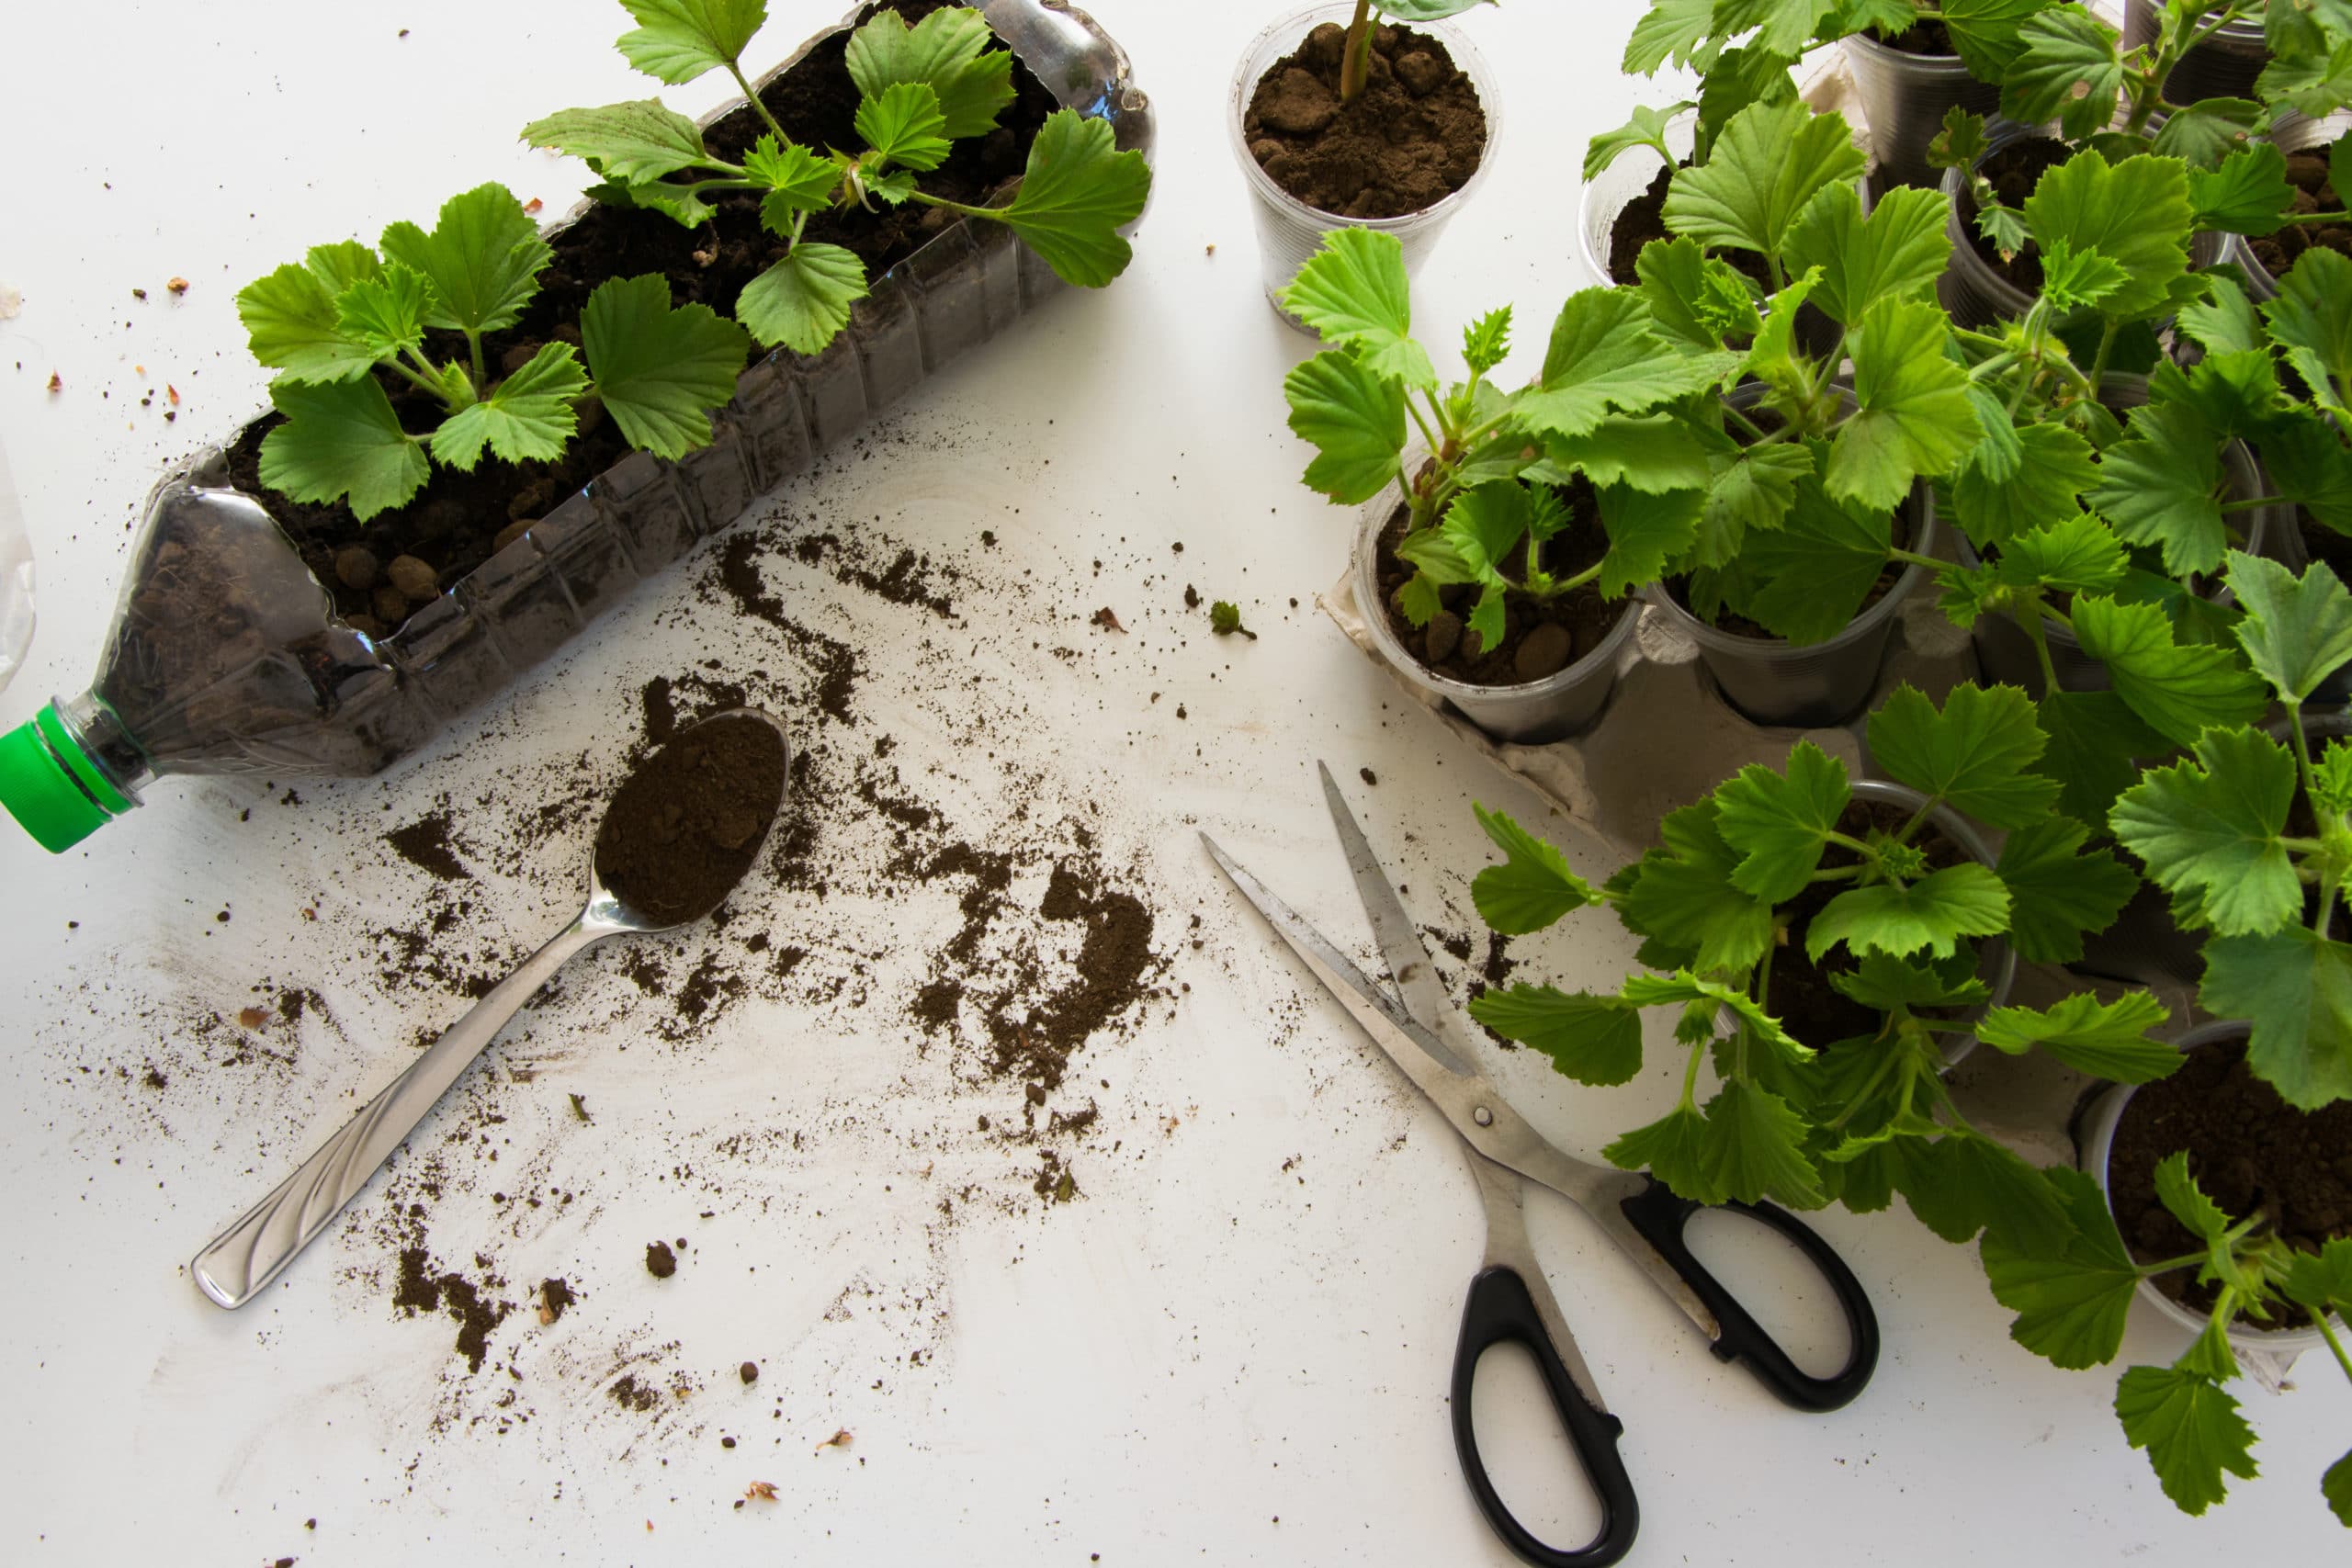
Crayon Planter:  

If you have old crayons hiding in drawers, this project is a great way for you to reuse and recycle your materials. Plus, you will have a unique and fun planter once it’s complete. Here’s how to make one:

  1. Gather old crayons and remove all of the paper on the outside.
  2. Rinse out a can.
  3. With a hairdryer on high heat, hold a crayon on the outside of the can and watch as the wax melts onto the can. Repeat until the can is covered.
  4. Add soil and seeds – your planter is complete!

For extra learning, explore why crayons melt when a hairdryer is used and talk about what you might grow in your planter. Mrs. Lamb shared she’s growing strawberries!

Ecosystem:

Mrs. Lamb’s final Earth Day project is one of her favorites – an ecosystem! This project is simple, but the results can be seen for days and weeks on end as your seeds continue to grow. Here’s how to make your own ecosystem: 

  1. Collect two soda bottles (you may want to have three ready just in case)
  2. Cut off the top of one bottle and the bottom of another
  3. Flip one bottle upside down and nest it inside the other (the top of the bottle where the cap would normally be should now be inside of the other bottle)
  4. Fill the top bottle with a layer of rocks followed by layers of soil. Mrs. Lamb’s kids added moss in between their rocks and soil.
  5. Plant seeds in the soil.
  6. Water your seeds and watch as any additional water trickles through the top bottle and lands in the bottom bottle. Your ecosystem is ready to thrive!

For extra learning, continue to water your ecosystem and track its progress. You will notice the seeds beginning to sprout, and overtime the roots will poke through the bottle’s opening and flow into the bottom bottle where the water is collecting. You will find you will need to water your ecosystem less and less because the roots will be able to collect their own water.

Make sure to catch Mrs. Lamb’s Earth Day Facebook Live, and have fun celebrating the 50th anniversary of this great holiday. We’ll see you back on Facebook for Mrs. Lamb’s next session on Thursday!

How to Homeschool: Two Easy Crafts for Preschoolers

Mrs. Lamb was back on Facebook Live yesterday, and this time she answered your question about how to encourage preschool age students to be creative. Throughout her broadcast, Mrs. Lamb explained how to do two different crafts with young kids between the ages of three and seven. We loved seeing the results of her mosaic art and dot art projects, and we’re excited to share more about each below! 

Mosaic Art:

Supplies:

  1. A picture either hand drawn or printed onto a piece of paper (a coloring book picture could work too!)
  2. Construction Paper
  3. Glue Stick

Why It’s Important:

This project encourages preschoolers to work on their fine motor skills because they will need to rip small pieces of paper. The skills they are exercising through this craft are the same skills they will use when they begin to work on their handwriting. That’s why projects like this one are important! Students can also learn about colors, math (you can ask them to count how many pieces of paper are needed to fill in each section), and staying within the lines.

Directions:

  1. Draw or print the outline of an object onto a piece of 8”x11” paper. The outline is important because your student will be filling the interior with paper.
  2. Tear small pieces of construction paper
  3. Beginning with the large sections, glue each piece of construction paper onto the larger paper within the section where your student would like it to be placed. The small pieces of paper should overlap. 
  4. Repeat steps 2 + 3 until the outline is filled in.
  5. Hang your preschooler’s project up! Placing it face out on a window is a great idea, so your neighbors can enjoy your student’s colorful art during their walks.

Dot Art:

Supplies:

  1. A picture either hand drawn or printed onto a piece of paper (a coloring book picture could work too!)
  2. Water Based Paint (Crayola works well!)
  3. Q-tips

Why It’s Important:

Like the mosaic art project, dot art encourages your student to work on their fine motor skills because they are pinching a Q-tip while they’re painting. They can also work on coloring within the lines, learning the difference between cool colors and warm colors, and how to describe their work.

Directions: 

  1. Draw or print the outline of an object onto a piece of 8”x11” paper. The outline is important because your student will be filling the interior with paint.
  2. Dip your Q-tip into the paint and paint dots* onto the paper.
  3. Repeat until the page is complete.
  4. Ask your student to describe what each color they’re using means to them and make a color guide.
  5. Hang your preschooler’s art in a place where you and your neighbors can enjoy it!
  6. *If your preschooler would prefer to paint longer strokes using the Q-tip, that’s fine too! As Mrs. Lamb points out, they are still working on their fine motor skills.

The important thing to keep in mind with either project is there isn’t a right or wrong way to complete them. Encourage your child’s creativity along the way! 

For more ideas and to see Mrs. Lamb explain (and make!) the projects, make sure to watch her Facebook Live. We’ll see you back on Facebook tomorrow for Mrs. Lamb’s next session!