Engaging Math Games for Kids

First grade teacher Mrs. Lamb returned to Facebook Live today to debut a new segment! This time, she chose to highlight a subject that can sometimes feel difficult to teach, especially at home – math. Below, we’re sharing the three activities and games she shared that are sure to keep kids young and older engaged and learning throughout their stay-at-home school day and beyond.

Number Scroll:

The first activity Mrs. Lamb highlighted is a number scroll. You will need a piece of computer paper to use to create a chart (or you can download this PDF), a pen or pencil, crayons or colored pencils, and an empty toilet paper or paper towel roll (you’ll want to cut the power towel roll in half). 

If you choose to create your own chart, you will want to make one with 10 rows across and 10 rows down. Then, ask your student to number each box within the chart with 1-100. For young students, this will offer plenty of a challenge; however, students who already know how to count beyond 100 will want to count even higher. The scroll happens when you attach more paper to your first sheet to start to create a scroll that can be rolled up and stored inside of the toilet paper roll when your student wants to move on.

They will Learn: Counting, numbers, number reversal, patterns, and even handwriting.

Enhance: Consider enhancing this activity by attaching more sheets, as we mentioned, and asking your student to add color for patterns they see appearing – even numbers, odd numbers, prime numbers, 5s, 10s, and more.

One More One Less:

In order to play this game, you will want to download this PDF. You will also need at least one dice, if not two. To be able to play repeatedly, you can also think about placing the sheet inside of a gallon sized clear bag because the bag will act as a white board. 

How to Play: Roll the dice and write down the number rolled in the middle section of the row. Then, write a number that’s less than the number rolled on the left and a number that’s more than the number rolled on the right. Keep going until you reach the end of the sheet! 

They will Learn: Counting, numbers, addition, and multiplication.

Enhance: For students who already know how to count to six, play this game using two dice. After they roll, your student can add or even multiply the number appearing on each dice together. Students can still write numbers that are less and more than on either side of the number in the middle column.

Doubles Aren’t Trouble:

Encourage your student to enjoy multiplication and addition when you play Doubles Aren’t Trouble. Similar to One More, One Less, you will need a PDF and one dice. You can also consider the DIY white board method mentioned above! 

How to Play: Roll the dice, and multiply the number that appears by 2. Then find the number on the game board and circle it. The first person to have four in a row wins!

They will Learn: Numbers and multiplication.

Enhance: To encourage longer playtime, print out a sheet for each player planning to participate. In order to win the game, they must circle every number on their card rather than only getting four in a row. 

How are you encouraging your student to embrace math while learning from home? Let us know which math activities they are enjoying on Facebook!

3 Ways to Engage Young Readers

Happy Thursday, Shopkickers! First grade teacher Mrs. Lamb filmed another segment today on Facebook Live. Because we want to make sure we’re answering the questions you have, Mrs. Lamb answered one of your questions today. She shared three great tips about how to keep young readers engaged, and we have the recap below.

Lego Sight Words

Mrs. Lamb touched on the importance of sight words for young readers, and she revealed a fun new way to help students to learn them – Legos! Simply write one letter on one (or both) sides of a Lego brick. Keep going until you have a collection. Then ask your student to create sight words with the lettered bricks.

By participating in this learning activity, they’re learning about:

  • Fine Motor Skills – The act of making mini groupings of Legos helps with this.
  • Letter Identification – Your student must know which letter is on the Lego in order to use it.
  • Spelling – Your student is learning how to spell their sight words while they’re building.
  • Sentences – Once your student has built a few words, ask him or her to create sentences using the groupings.

Roll + Read

Similar to creating words with Legos, Roll + Read allows kids to be interactive while reviewing sight words. The idea is simple: create a mini board with the numbers 1-6 written vertically down the side. Next to each number add three sight words across the board horizontally. It helps to use a whiteboard if possible!

In order to learn, your student will roll a dice and choose a word from the row associated with the dice’s number from the board. They will read it out loud, and as long as it’s correct, erase it from the board. This is a great activity for kids to do independently, and you could also turn it into a game to see how fast the board can be completed. Then, decide on a fun reading reward! 

How to make a whiteboard:

  • DVD Case:
    • Remove the front and back covers from a white DVD case. Leave the plastic on.
    • Use a permanent or whiteboard marker to write on the board.
    • Use an old sock to erase.
  • One Gallon Bag:
    • Place white computer paper inside a zipped one gallon bag. If you use a mini stack, it will be easier to write on the board.
    • A permanent marker, whiteboard marker, and an old sock work here too.

Roll + Retell

Mrs. Lamb’s final tip to engage young readers is called Roll + Retell. This PDF from Fun in First is a great tool because it offers prompts for readers to answer about the key components of a story, like characters, setting, and more. Each component of a story is associated with a number from a dice, so you or your student will want to roll the dice in order to see which story question they should answer. Roll + Retell is interactive and fun, plus it’s also ensuring your student is learning and absorbing while enjoying listening or reading books. 

If you’re looking for great story resources, visit YouTube! Plenty of authors, illustrators, and celebrities have been taking to the internet to read to young students. Your kids will be busy for a while!

How do you encourage your young reader to read? Let us know and make sure to tune into Mrs. Lamb’s next Facebook Live segment on Tuesday!

At Home Science Experiment: Egg Drop

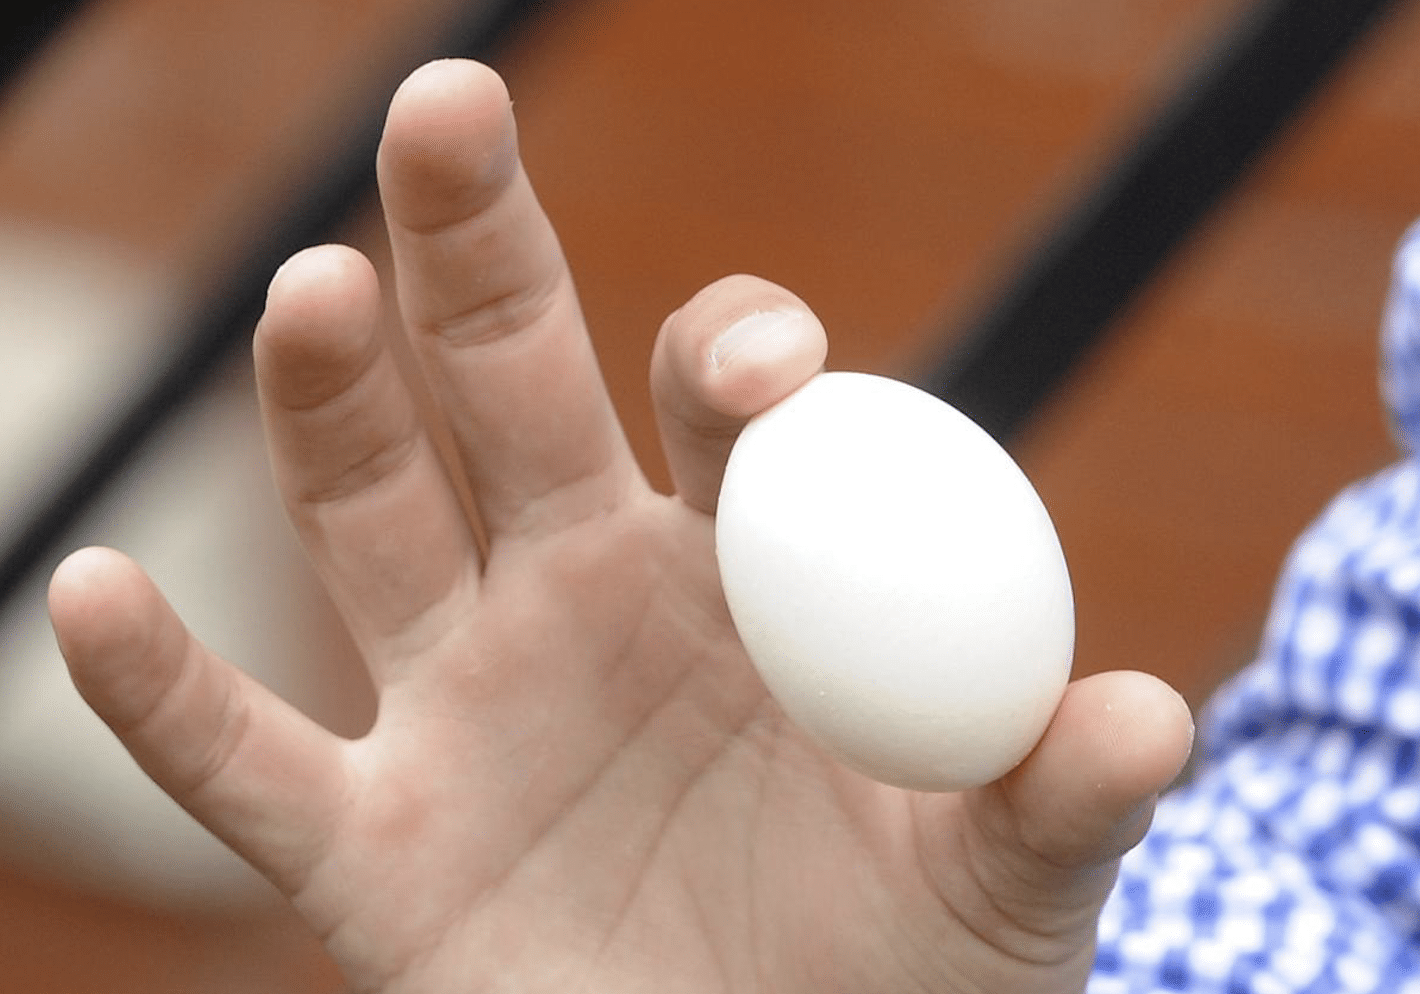
First grade teacher Mrs. Lamb was live again yesterday on Facebook, and we’re back to recap her session! This time, she dove into science after receiving requests to explore this fun subject. And, after chatting with a friend, she decided to explore the egg drop. Many of us remember the day when we had to create a structure that would protect an egg from a fall, and Mrs. Lamb introduced her kids to the experiment first and now you’re invited to take part too.

The steps to try this experiment at home are simple!

How to Do an Egg Drop Experiment at Home:

  1. Explain the concept of dropping an egg to your student. Older kids may have learned about force in their science classes, which is the ultimate lesson. However, there is plenty of creativity to be had for younger students too.
  2. Ask your student to create a structure they think can withstand a drop from a second or third story window or even from a lower down ladder. Encourage them to get creative and think about what might protect their egg during a fall. The key thing Mrs. Lamb noted was she encouraged her kids to use anything that could be recycled, which is a great idea in general and also in celebration of Earth Day.
  3. Encourage your student to decorate their egg! Mrs. Lamb’s kids got creative and drew on their eggs, which we thought was such a fun touch. They also named them for even more personalization.
  4. Prepare the egg for the drop! Place it inside the structure, make sure it’s secure, then head to the spot where you will drop it.
  5. Mrs. Lamb’s kids waited in the yard outside where they took videos of their eggs dropping in slow motion. The videos are fantastic!
  6. Open the structures to see if your egg survived the fall. The goal is for it to be intact.

After taking a peek at their eggs post-fall and reviewing why certain structures worked while others didn’t, Mrs. Lamb’s kids asked to try again. One experiment turned into a complete activity for Mrs. Lamb and her family, and we think you and your family will have fun too!

Will you take part in the egg drop experiment? If you do, make sure to share it with us on Facebook. Stay tuned for next week because Mrs. Lamb will be back on Tuesday to share even more ideas live!

How to Homeschool: DIY Time Capsule + Craft

First grade teacher Mrs. Lamb returned to Facebook Live yesterday for her latest segment! She offered insight into how we can all consider adopting a different mindset while social distancing continues. We think the quote Mrs. Lamb mentioned was so on point for this time in all of our lives, especially as it relates to how kids and families might walk away from this COVID-19 experience.

We didn’t realize we were making memories. We just knew we were having fun.

With the above in mind, Mrs. Lamb offered a new craft idea and a fun way to memorialize this quarantine experience. Let’s dive into both below!

Quarantine Time Capsule:

Mrs. Lamb said she has seen a quarantine capsule PDF from Kiddy Charts making the rounds on social media, so she and her family decided to download it. We’re so happy she did! Mrs. Lamb highlighted a few of the great pages that are inside, and we think families with kids of all ages will enjoy it.

One page prompts participants to trace their hand, and Mrs. Lamb layered her family hands on top of each other in colorful construction paper. The result is so sweet, and it will be a wonderful memory to look back on years later! Other pages offer chances for your kids to interview you for your outlook as an adult during the quarantine, favorite activities you’ve done together as a family, about me pages, and more.

Think about completing one page each day, and encourage your kids to add color and their own unique doodles using crayons, colored pencils, markers, and more. Once your book is complete, Mrs. Lamb said she plans to laminate her family’s book. She purchased a laminator online from Walmart, which is a great idea, or you could also opt to create a box or slip completed pages into page protectors within a binder.

DIY Bird Feeder:

If you have citrus in your refrigerator, considering creating a DIY bird feeder! Mrs. Lamb said she cut an orange in half, made sure to eat the fruit in the interior, and then saved half of the peel. She created two holes, which you can make too using a pen or pencil, and threaded twine through to act as a way in which to hang the feeder.

Then, Mrs. Lamb researched what birds can eat. She realized she had many of the items, like sunflower seeds, raisins, and nuts, in her cabinet, so she and her kids created their own bird food mixture. They popped their bird food inside of the peel and placed the completed feeder in the freezer to help the ingredients bind together.

To continue their learning experience, Mrs. Lamb and her family plan to place the feeder outside and take note of the birds that pay visits to the feeder. You and your kids can take pictures of the birds that visit, make videos, and even create your own drawings.

Overall, a DIY bird feeder is a simple craft that costs very little to make, and the results can be enjoyed for a while!

Make sure to take a peek at Mrs. Lamb’s full video for even more, and tune in tomorrow for her next installment on Facebook Live! Let’s keep making memories.

How to Homeschool: Easy Science Experiments

We continued to share more fun activities you can do with your student at home while you navigate homeschooling together. Yesterday was all about science! We welcomed first grade teacher Mrs. Lamb back to Facebook Live, and she shared two great science experiments she discovered on ScienceFun.org. We’ve listed the steps and her ideas to further your student’s learning experience below.

Orange Fizz Experiment:

This experiment allows students to discover what happens when an acid combines with a base. Hint: Mrs. Lamb and her kids describe it like experiencing a healthy version of orange soda!

You will need:

  • 1 citrus fruit – An orange or clementine works perfectly.
  • Baking Power – You only need just enough to dip a piece of fruit.

Steps:

  1. Peel your fruit and separate it into pieces.
  2. Dip a piece of fruit into the baking power. You don’t have to cover the entire fruit. Dipping a portion will work well.
  3. Pop the fruit into your mouth.
  4. Share what you experience!

Further Learning:

Mrs. Lamb shared she likes to combine subjects together as much as possible, so she encourages parents and students to share the results of the experiments through writing about the experiment and the results, turning to PowerPoint to work on tech skills to create a presentation, and talking through what happened.

Explode a Bag Experiment:

Like the orange fizz experiment, this experiment also showcases what happens when carbon dioxide is emitted and contained. The results may take you by surprise!

You will need:

  • Ziploc Bag
  • Baking Soda (1 tablespoon)
  • White Vinegar (1/4 cup)
  • Baking Sheet

Steps:

  1. Pour the white vinegar into the bag.
  2. Twist the bag so when the baking soda is added, it’s in the envelope at the top of the bag.
  3. Seal the top of the bag.
  4. Release your hand to allow the mixture to combine.
  5. Shake the bag and place it onto your baking sheet.
  6. Step away and watch it explode!

Further Learning:

Mrs. Lamb suggests turning your phone onto video in order to capture a slow-motion video of your facial expressions and the exploding bag. Then share your video with friends, family, and teachers to share what you’re learning!

Make sure to tune into Mrs. Lamb’s Live on our Facebook page to try both experiments this weekend! Also, keep watching because Mrs. Lamb (and her kids!) offers tips for healthy snack recipes, how to limit screen time, and creative challenges you and your family can do together.

How to Homeschool Your Kids: Tips from a Teacher

In an effort to continue to share content that can make an impact in your lives, we have been sharing tips for keeping kids busy at home. Combined with your requests and requests from our own families and friends, today we thought we would tackle a new topic with help from an incredible educator: homeschooling!

Students, teachers, and parents are currently trying to navigate completely uncharted territory as many jump into homeschooling for the first time, and we knew first grade teacher, Mrs. Lamb, would offer great insight. So, we went live with Mrs. Lamb today on Facebook! Did you catch it? If not, make sure to watch the replay, and take a peek at the comments. There are so many great learning ideas from fellow Shopkickers who are homeschooling for the first time just like you!

A few of our favorite takeaways from Mrs. Lamb about how to homeschool:

1. Prep the Night Before

For parents who are also trying to work from home, we think this tip is especially meaningful! The night before, review the schoolwork your child needs to accomplish. Then, set initial assignments aside, especially those your child can complete without guidance from you. When you spot work that will require hands-on help, pull that from the pile and save it to do together to prevent interruptions during your work calls.

2. Create a Schedule

Kids (and adults!) are used to schedules, and it’s important to keep that going at home. Of course, you’re free to make modifications depending on how you and your family feel the day is going. However, having a general plan works wonders! Mrs. Lamb mentioned she and her kids have found it’s best to complete work that will require them to sit at the table during the morning. Then, they switch to a special, like art or music, during the afternoon and sometimes do a science experiment together. The freedom to play is especially important after lunch when energy levels rise and the desire to sit still starts to fade.

3. Encourage Independent Work

Mrs. Lamb was quick to point out students are asked to work independently at school, so they should be able to do the same thing at home! As we mentioned above, starting the day with independent work or scheduling it for times when you need to attend meetings works well. Mrs. Lamb also said Go Noodle is one of her go-to sites for younger kids who need fun activities that they can do on their own.

4. Set Up a Reward System

Mrs. Lamb mentioned a few different ways to offer rewards during her Live. She said she and her kids have been filling a mason jar with gems – they’ve named it The Gem Jar. Mrs. Lamb also mentioned choosing a word and then spelling it out with stickers each time a child (or parent!) has an accomplishment. A key takeaway: “wins” can be things like completing work or doing well on an assignment, but they can also be even more simple like being kind to a sibling or getting dressed for the day on their own. Once your goal is met, do something fun together at home!

5. Explore Activities at Home

Whether you’re planning how to explore specials together or thinking of a fun family reward for a full Gem Jar or completed work, you definitely don’t have to look further than your home! A few ideas that stood out to us: build a fort, camp in the living room, create chalk art with painter’s tape (here’s a tutorial), or enjoy a family movie night. 

BONUS: Stay Connected

We’re all missing the everyday connections we typically make without effort, so it’s more important now than ever before to make sure to stay connected to friends and teachers. Turn to Zoom, FaceTime, and more to stay in touch! While you’re talking, share what you and your family are doing during your school time together.

Mrs. Lamb sent us all of her go-to resources for at-home learning, and we wanted to make sure you can access them too. Here’s the full list:

Movement

Reading: 

Math Tools:

Enrichment Activities

Virtual Field Trips:

Communication Tools:

We’ll be sharing more tips and tricks from Mrs. Lamb, but don’t hesitate to chime in on Facebook in the meantime!