It’s Tuesday, which means we welcomed first grade teacher, Mrs. Lamb, back to Facebook Live! Mrs. Lamb shared one of her favorite holidays is tomorrow – Earth Day. And, she’s still planning to celebrate at home with her kids and over Zoom with her students. Below, we’re detailing the four simple crafts and experiments you can do from home with materials you likely already have on hand.
Bug Hotel:
The bug hotel is exactly like it sounds – a fun spot where bugs will want to inhabit (outside, of course!). Here’s how to make one:
- Cut off the top and bottom of a plastic bottle. A soda or water bottle is perfect!
- Go on a nature walk and pick up items like sticks, flowers, leaves, and moss.
- Thread your items into your bottle until it’s full.
- Poke two holes in your bottle, thread twine through the holes, and hang your habitat outside on a tree.
For extra learning, ask your student to journal about the experience, make a hypothesis about the varieties of bugs that will like the hotel you’re creating, and take photos of your hotel in progress.
Earth Day Headband:
Mrs. Lamb and her students love creating Earth Day headbands to wear throughout the day! It’s a fun way to kick off the day with a craft and plenty of meaningful conversation about reducing, reusing, and recycling. Here’s how to make one:
- Download the PDF from Smitten with First.
- Color your earth, glue all necessary pieces, and complete the prompt about how you reduce, reuse, and recycle.
- Glue all pieces to a headband and wear it throughout the day!
For extra learning, talk with your student about the areas of the earth they’re coloring and why they’re choosing specific colors. See if you can think of new ways to reduce, reuse, and recycle. Chat with friends about Earth Day!
Crayon Planter:
If you have old crayons hiding in drawers, this project is a great way for you to reuse and recycle your materials. Plus, you will have a unique and fun planter once it’s complete. Here’s how to make one:
- Gather old crayons and remove all of the paper on the outside.
- Rinse out a can.
- With a hairdryer on high heat, hold a crayon on the outside of the can and watch as the wax melts onto the can. Repeat until the can is covered.
- Add soil and seeds – your planter is complete!
For extra learning, explore why crayons melt when a hairdryer is used and talk about what you might grow in your planter. Mrs. Lamb shared she’s growing strawberries!
Ecosystem:
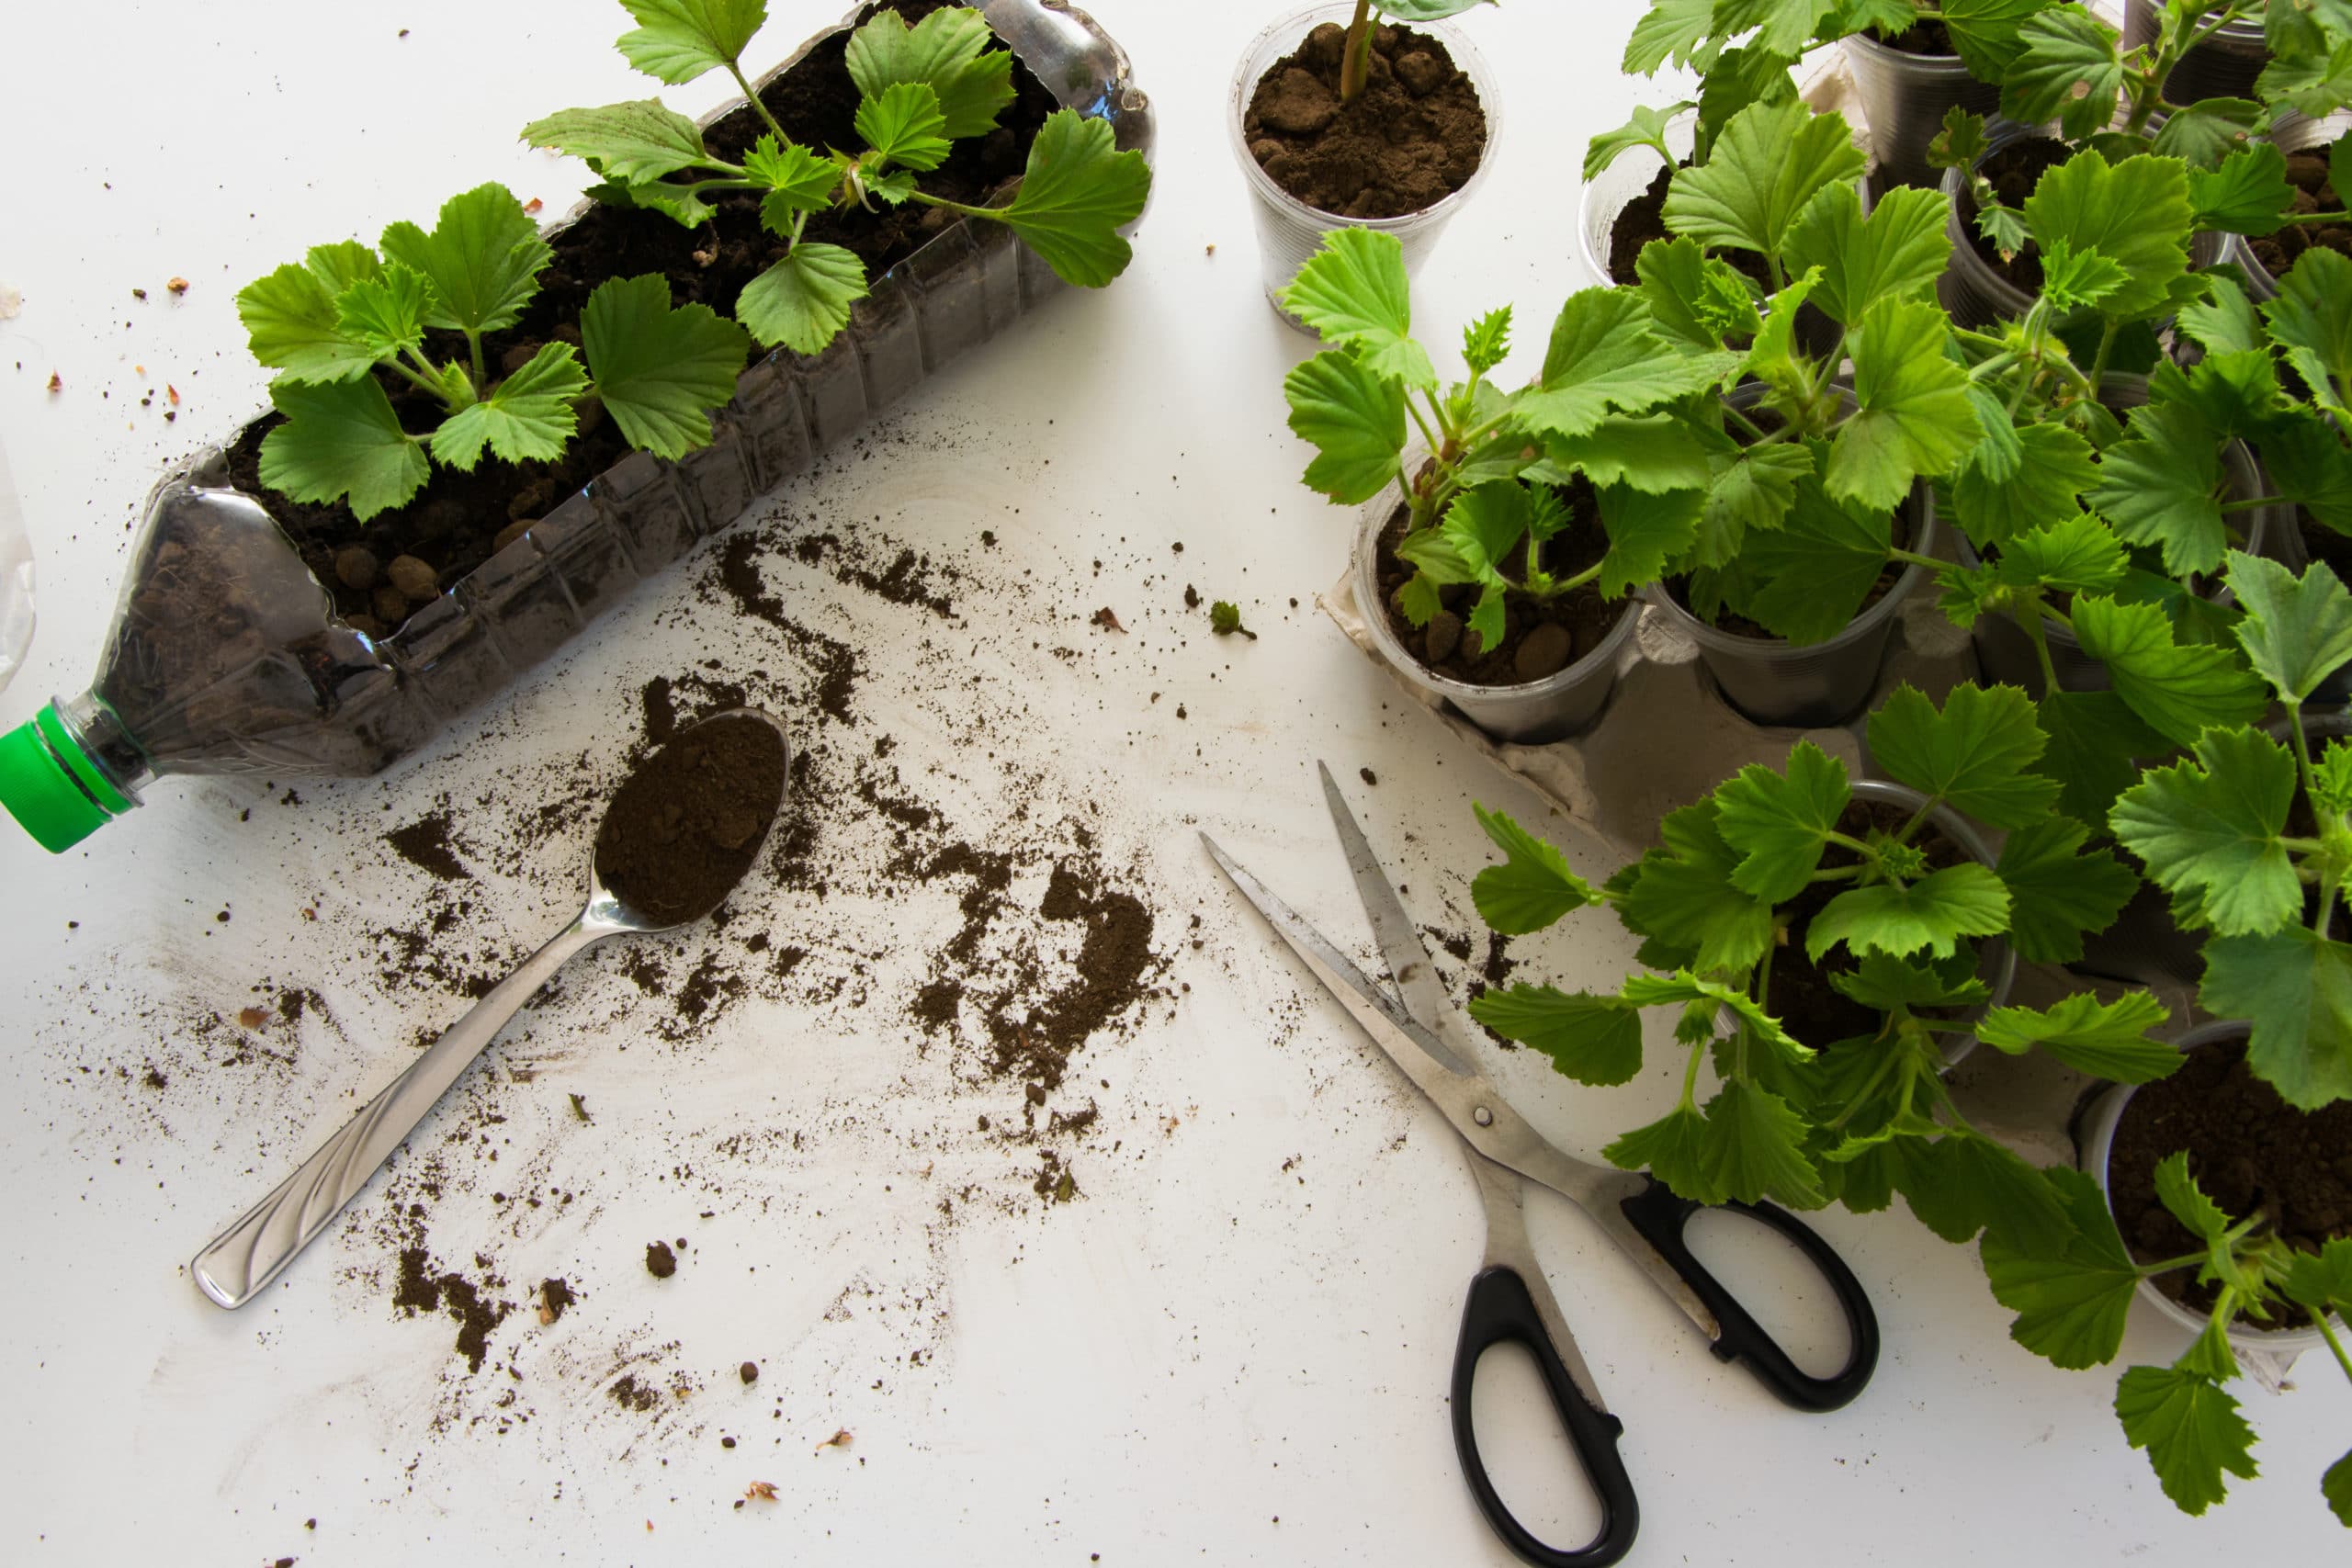
Mrs. Lamb’s final Earth Day project is one of her favorites – an ecosystem! This project is simple, but the results can be seen for days and weeks on end as your seeds continue to grow. Here’s how to make your own ecosystem:
- Collect two soda bottles (you may want to have three ready just in case)
- Cut off the top of one bottle and the bottom of another
- Flip one bottle upside down and nest it inside the other (the top of the bottle where the cap would normally be should now be inside of the other bottle)
- Fill the top bottle with a layer of rocks followed by layers of soil. Mrs. Lamb’s kids added moss in between their rocks and soil.
- Plant seeds in the soil.
- Water your seeds and watch as any additional water trickles through the top bottle and lands in the bottom bottle. Your ecosystem is ready to thrive!
For extra learning, continue to water your ecosystem and track its progress. You will notice the seeds beginning to sprout, and overtime the roots will poke through the bottle’s opening and flow into the bottom bottle where the water is collecting. You will find you will need to water your ecosystem less and less because the roots will be able to collect their own water.
Make sure to catch Mrs. Lamb’s Earth Day Facebook Live, and have fun celebrating the 50th anniversary of this great holiday. We’ll see you back on Facebook for Mrs. Lamb’s next session on Thursday!


